« Previous
Next »

« Previous
Next »
Adding Shape in Word Document
Adding Shape in Document
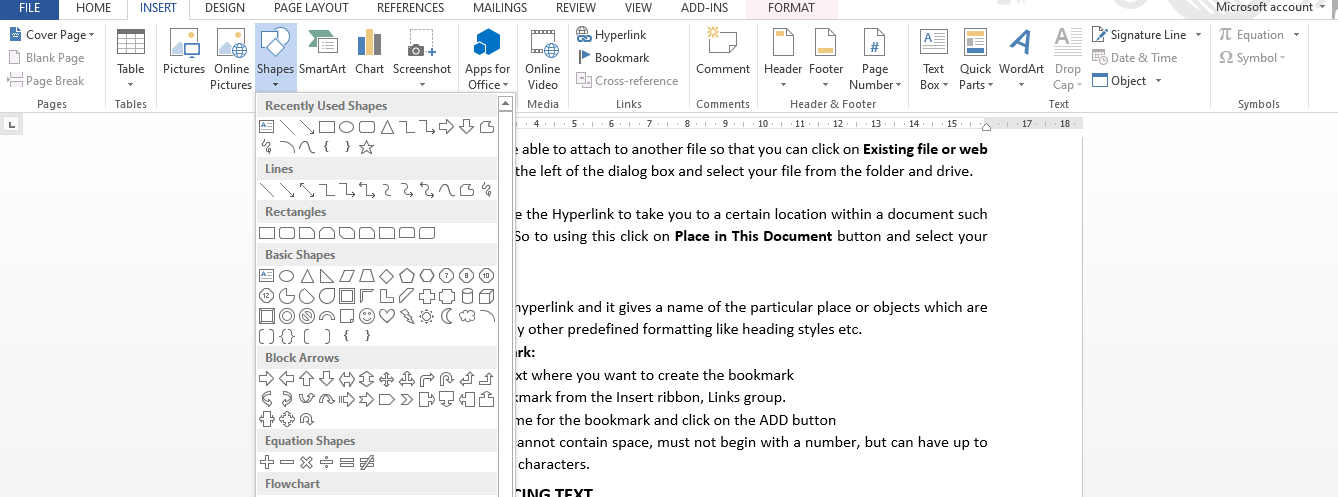
This is provides a facility to draw shapes like rectangle, circle, arrows, lines, flowchart symbols etc. by dragging.
To insert shape:
- Click on Insert Menu.
- Click on Shapes option dropdown arrow from illustrations group of insert ribbon.
- Click on shape icon you want to insert, the mouse pointer changes to a cross like mark (+).
- Drag the mouse pointer diagonally until your shape will complete.

Adding text in shape:
- Right click on the shape; the popup menu list will appear then click on add text option.
- Cursor will active within the shape and start typing.
Formatting Shape:
When you draw a shape, the format menu will appear automatically or you can highlight format menu by double click on its. This menu provides different formatting attributes which are listed below:

Shape style: You can changes shape style by click on ready-made style button from shape style group of format ribbon.
You can apply formatting as your choice by selecting different features.
- Shape fill- Fill the selected shape to a solid color, gradient, picture and texture
- Outline- Specify the color, style and line width for the outline of selected shape.
- Change shape- Change the shape of your drawing and preserving all the formatting you have made.
- Shadow- It is an option to add a shadow to your drawing objects and also you can change color, style and adjust the position of shadow.
- 3D effect- This option provides to change the effect of the shape as 3D objects.
- Arrange- It an important option to arrange your drawing objects with text documents and other graphics with different formats like behind text and objects, in front of text and objects and arrange with other text wrapping options.